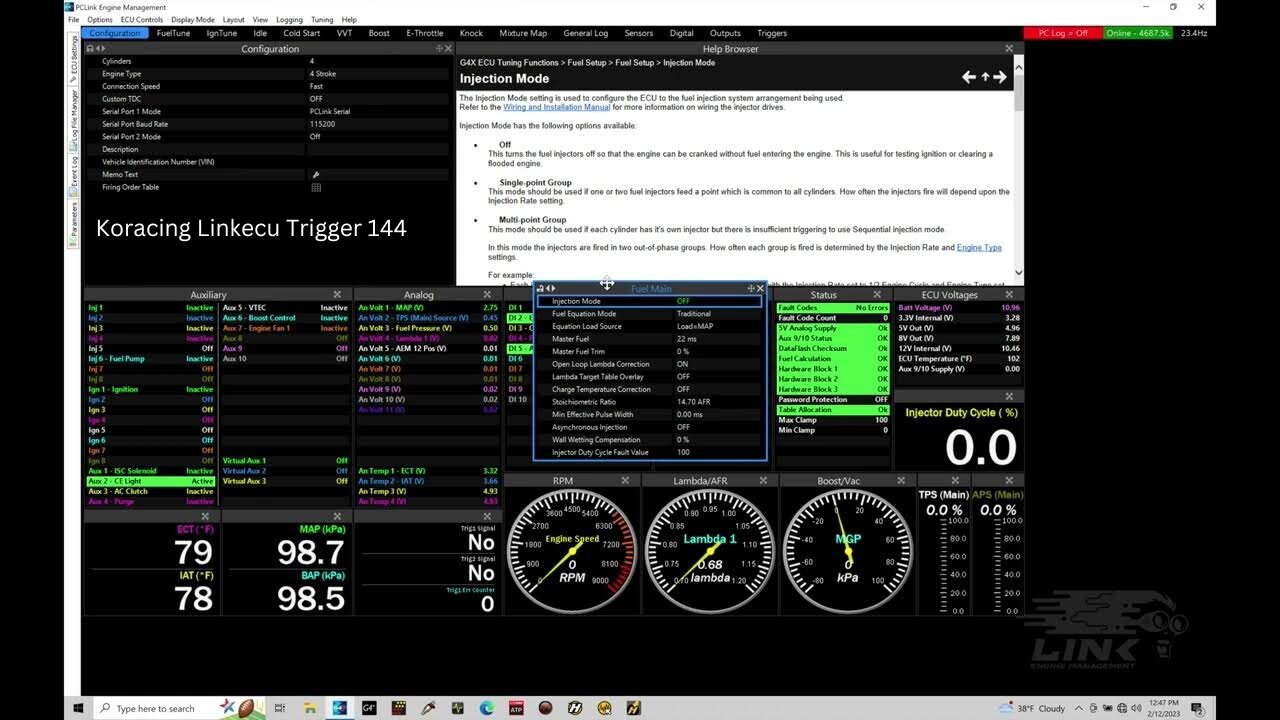
Introduction to the Koracing Linkecu Trigger 144
If you’re looking to enhance your vehicle’s performance, the Koracing Linkecu Trigger 144 is a game-changer. This innovative system optimizes engine timing and improves efficiency, making it an essential upgrade for any serious car enthusiast. Whether you’re racing on the track or just want more power on the streets, understanding how to install this trigger system can unlock your vehicle’s full potential.
But before diving into installation, let’s ensure you have everything you need and understand each step of the process. This guide will walk you through installing the Koracing Linkecu Trigger 144 with precision and ease. Get ready to transform your driving experience!
Read More: 63.223.29.66: All You Need To Know
Tools and Materials Needed for Installation
Before diving into the installation of the Koracing Linkecu Trigger 144, gathering the right tools and materials is essential. This will streamline your process and make it more efficient.
You’ll need basic hand tools like a socket set, screwdrivers, and pliers. These are vital for removing the old trigger system with ease.
Additionally, having wire strippers on hand can be helpful for any wiring adjustments required during installation. A multimeter is also recommended to ensure proper connections throughout the setup.
Don’t overlook safety gear such as gloves and goggles to protect yourself while working on your vehicle’s electronics. It’s better to be safe than sorry when dealing with sensitive components.
Have some zip ties or electrical tape available to secure loose wires neatly after you’re done connecting everything. Preparing these items before you start will save time and reduce frustration along the way.
Pre-Installation Preparation
Before diving into the installation of your Koracing Linkecu Trigger 144, some preparation steps are essential. Start by ensuring you have a clean workspace. A tidy area will help you keep track of tools and components.
Next, familiarize yourself with the user manual that comes with the trigger system. Understanding its specifications and features can save time during installation.
Check your vehicle’s compatibility as well. Knowing if any additional modifications are necessary ahead of time can prevent unexpected challenges later on.
Gather all required tools and materials before beginning. This includes wrenches, a screwdriver set, wiring connectors, and safety gloves. Having everything at hand allows for a smoother workflow when installing the Koracing Linkecu Trigger 144 without interruptions or delays from searching for items mid-process.
Step-by-Step Guide for Installing the Koracing Linkecu Trigger 144
Installing the Koracing Linkecu Trigger 144 can elevate your vehicle’s performance significantly. Follow these steps carefully for a smooth installation.
Begin by removing your old trigger system. This often involves detaching various components, so ensure you have ample space to work and keep all parts organized.
Next, position the new Koracing Linkecu Trigger 144 in place. Make sure it aligns perfectly with existing mounts before securing it tightly.
Once installed, focus on wiring and connecting the trigger system. Follow the manufacturer’s guidelines closely for accurate connections. Clear and secure wiring helps avoid future issues.
After everything is connected, test the system thoroughly. Start your engine and monitor its performance. If any irregularities arise, troubleshoot promptly to ensure optimal functionality of your new trigger system.
Read More: Tiwzozmix458: The Future of AI-Powered Efficiency
Step 1: Removing Old Trigger System
Begin by ensuring your vehicle is securely parked and turned off. Safety first! Disconnect the battery to avoid any electrical mishaps during the removal process.
Locate the old trigger system under the hood or near your engine block. It’s typically bolted on, so grab a socket set to remove those bolts carefully.
Pay attention to how everything is arranged before you start disconnecting wires and sensors. Taking photos can be helpful for later reference.
Once you’ve removed all fasteners, gently detach the wiring harnesses connected to the old system. A little wiggling might be necessary, but don’t force anything; delicate components can break easily.
With everything disconnected, lift out the old trigger system from its mounting area. Keep it nearby as you prepare for installation of your new Koracing Linkecu Trigger 144.
Step 2: Installing the Koracing Linkecu Trigger 144
With the old trigger system out of the way, it’s time to focus on installing the Koracing Linkecu Trigger 144.
Start by carefully positioning the new unit in place. Ensure that it aligns perfectly with your engine specifications. This is essential for optimal performance.
Secure the trigger using bolts from your kit. Make sure they are tightened but avoid over-torquing, as this might damage components or misalign them.
Pay close attention to any alignment marks on both the engine and trigger itself. Proper alignment guarantees accurate timing readings which are crucial for smooth operation.
Once fitted, give everything a quick visual inspection before moving forward. A clean installation will save you headaches later on when wiring comes into play.
Step 3: Wiring and Connecting the Trigger System
Wiring and connecting the Koracing Linkecu Trigger 144 is crucial for ensuring proper functionality. Start by carefully identifying the wiring harness that corresponds to your engine’s specifications. This ensures compatibility with your vehicle’s electrical system.
Next, strip the ends of the wires if necessary, being cautious not to damage them. Connect each wire according to the color codes in the installation manual. Secure connections tightly using solder or high-quality connectors for durability.
Once connected, route all wires neatly away from moving parts and heat sources to prevent wear over time. It’s also wise to use zip ties or clips for better organization and safety.
Double-check every connection before powering up your system. A thorough inspection can save you headaches later on, so take this step seriously—it could make a world of difference in performance!
Step 4: Testing and Troubleshooting
Once you have installed the Koracing Linkecu Trigger 144, it’s crucial to test your setup. Start by turning on your vehicle’s ignition without starting the engine. This allows you to check for any error codes or warning lights on your dashboard.
Next, use a diagnostic tool to read any fault codes. If everything is functioning correctly, there should be no errors related to the trigger system.
If you do encounter issues, double-check all connections and wiring. Look for loose plugs or damaged wires that might disrupt functionality.
You can also manually rotate the crankshaft while monitoring signals through your ECU interface. This process helps ensure that the trigger is sending accurate timing signals.
Run a short drive cycle with care—listen for unusual noises and pay attention to engine performance. Addressing any discrepancies here will save headaches later on.
Benefits of Using the Koracing Linkecu Trigger 144
The Koracing Linkecu Trigger 144 stands out for its precision and reliability. It enhances engine performance, ensuring optimal timing during operation. This means smoother acceleration and better throttle response.
Another significant advantage is its durability. Designed to withstand harsh conditions, it’s built from high-quality materials that resist wear and tear over time. This longevity translates into cost savings on repairs or replacements down the line.
Installation flexibility is also a key benefit. The system fits various vehicle models, making it an excellent choice for both enthusiasts and professionals alike.
Additionally, users enjoy improved fuel efficiency due to enhanced ignition timing accuracy. This can result in noticeable savings at the pump.
With advanced diagnostics capabilities, it helps identify issues quickly, allowing for efficient troubleshooting without unnecessary delays or costs associated with traditional systems.
Conclusion
The Koracing Linkecu Trigger 144 stands out as a vital upgrade for any racing enthusiast. Its precision and reliability can transform your vehicle’s performance in ways you might not expect.
Installing this trigger system may seem daunting at first, but following the outlined steps can make it manageable. With proper tools and a little patience, you’ll be well on your way to enhancing your engine’s efficiency.
Embracing new technology has its rewards. Upgrading to the Koracing Linkecu Trigger 144 could lead to better throttle response and overall smoother operation of your engine management system.
As you embark on this installation journey, remember that each step brings you closer to achieving optimal performance. Your dedication will pay off when you experience those thrilling moments behind the wheel. Embrace the change, and let speed define your ride!
FAQS ( frequently asked questions )
When it comes to installing the Koracing Linkecu Trigger 144, having clarity on common questions can make the process smoother. Here are some frequently asked questions that may help you as you embark on this installation journey.
What vehicles are compatible with the Koracing Linkecu Trigger 144?
The Koracing Linkecu Trigger 144 is designed for various performance applications. Always check your specific vehicle’s compatibility before purchasing.
Do I need special tools for installation?
While most of the standard tools will suffice, having a torque wrench and multimeter handy can be beneficial for ensuring proper fitment and functionality.
How long does the installation take?
Typically, experienced enthusiasts can complete the installation in about two to four hours, depending on their skill level and familiarity with similar systems.
What if I encounter issues during testing?
If there are issues after installation, double-check all connections first. If everything looks correct but problems persist, consult forums or professionals who specialize in automotive electronics.
Can I perform this installation myself if I’m not an expert?
Yes! The step-by-step guide provided ensures that even those with basic mechanical skills can successfully install the trigger system. Just take your time and follow each step carefully.
Where do I find additional support or resources?
For further assistance, consider visiting online communities dedicated to automotive upgrades or checking out video tutorials that showcase similar installations.
Understanding these aspects will empower you as you work through your project with confidence. Your efforts could lead to improved performance from your engine setup once installed correctly!


Leave a Reply